Until the arrival of iOS 11, record the screen of our iPhone either iPad It seemed like a somewhat complicated and unintuitive task. Now, and after updating our devices Manzana to the latest version of your operating system, We can now record the screen without depending on third-party applications, extra accessories, jailbreak or a Mac computer. And thanks to the call Screen Recording either Screen recording, we can now record what happens on the screen of our smartphone or tablet in a quick and comfortable way. Follow our advice to make your own screen recordings in iOS 11, with or without sound and with the possibility of editing your final video.
How to record screen in iOS 11
The first thing we must do is add Screen Recording option to Control Center of our Apple device with iOS 11. To do this we just have to access Settings – Control Center – Personalize and activate the option Screen recording to include this option in our Control Center. Thus, every time we open the Control Center of our iPhone or iPad A small red recording circle will appear that will allow us to record everything that happens on our screen.

How to start recording
When we have the Screen Recording option activated in our Control Center, we will only have to Click on the red recording icon when we want to record our screen on video. At that moment a 3 second countdown, moments that we can take advantage of to enter the app or whatever we want to record; Once the countdown ends, the recording will start.
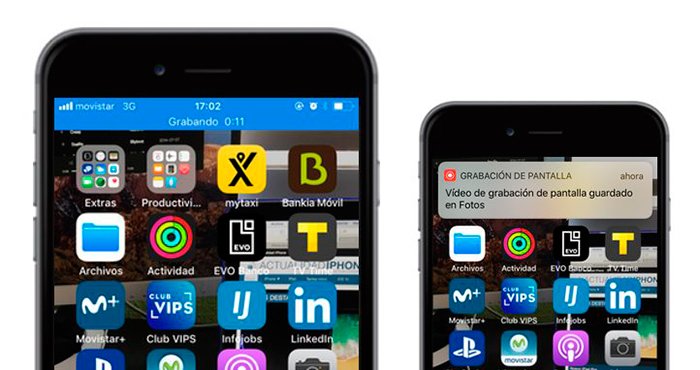
Thus, from that moment on, everything that is shown on the screen will be recorded on video; If we want to stop the recording we just have to touch the upper red bar that appears on the screen once the recording starts. When we do so, a notice will appear asking if we really want to stop the recording in progress; If we accept, the screen recording will stop at that moment. Then, We will receive a notification that will inform us that the recorded video has been stored in Photos; If we click on said notification, we will directly access the video.

Record screen in iOS 11 with sound
The Screen Recording tool in iOS 11 is done by default without any sound, although it also It is possible to record these videos with sound through the microphone of our Apple device. Follow the steps below to activate screen recording with sound:
- Press and hold the Screen Recording icon to activate the 3D Touch menu.
- Activate the microphone through the corresponding icon.
Now we can record the screen of our device while we also record the environmental sound or our voice at the same time that we manipulate the device itself; the rest is the same as the option without sound, that is, to stop recording and the video storage location.
Edit the video of our screen recording
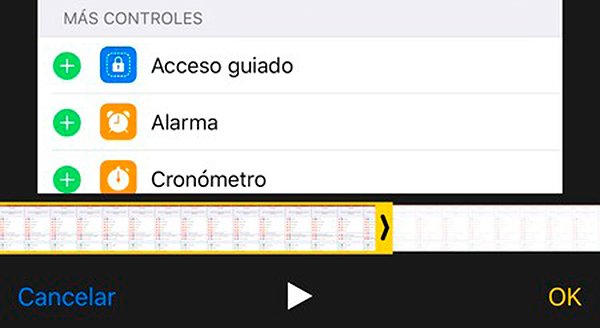
Once we have stored our screen recording in Photos on our iPhone or iPad, We can edit the video to shorten its duration if we want it to last less time or not take up so much space in the device's memory. To do this we only have to adjust the yellow editing frames through the option Edit from the video itself; yes indeed, We can only adjust the duration at the beginning or end of the video, not in the middle. Once we have finished editing the video, we can save the new video in Photos, keeping the original in case we want to make new adjustments. Now we can record our screens in a quick, simple and comfortable way.

