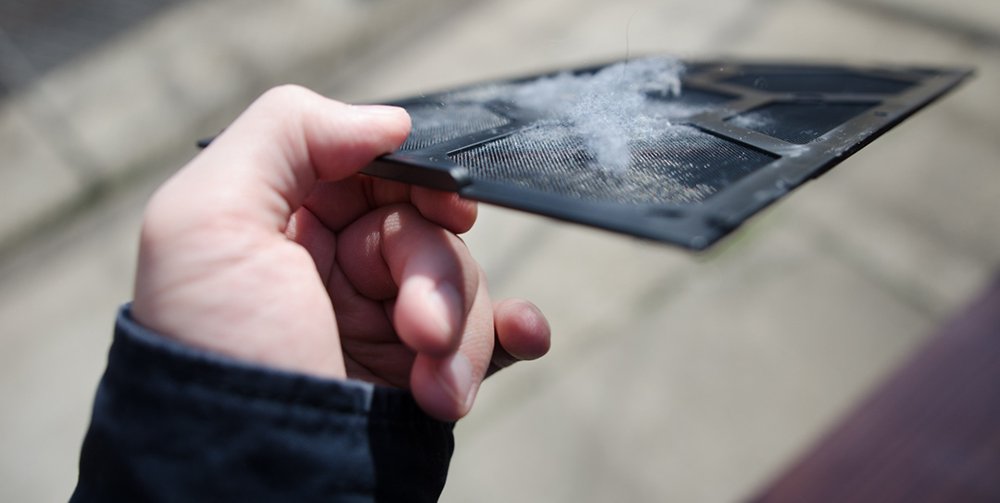
Our PC or desktop computers They are usually composed of generously sized boxes with a multitude of components inside, complex electronic and mechanical systems that operate at high temperatures and require maintenance. cooling systems at the height, mainly through fans. Over time, these PC cases absorb a large amount of dust from our home, remaining on their components and, if we do not remedy it, worsening performance. And it is practically impossible to prevent dust from entering inside due to the great suction power of its fans, especially in very powerful computers or gaming, which can cause a premature fan wear and other components that should be avoided. Therefore, we recommend thoroughly cleaning our PC from time to time; below we will tell you how to clean your computer step by step.
How to clean the inside of your PC
The first thing we must get are cleaning products and some specific utensils to be able to properly clean all the internal components of a PC, although the basic thing is to have a fine brush or brush and a vacuum cleaner. We can also use a slightly damp cloth with water or a cleaning product for electronic devices or screen cleaning cloths.
How to access the inside of your PC
Once we have the utensils prepared, we can now access the inside of the PC; For this there are different methods depending on the type of box. Thus, conventional towers can be disassembled at the rear and side by unscrewing certain fastening screws; on the other hand, the towers dedicated to the sector gaming They present more facilities and extra windows that we should not allow to be cleaned. Thus, we can unscrew some special larger screws in the rear part and remove the side, often transparent or with a large window.

Once we have removed the main side panel, most of the interior components will be visible; In some cases we can dismantle extra panels such as the front or top with extra fans, which we will also have to clean. We can also find additional “windows” with dust filters, especially at the top.

Cleaning internal components
Depending on the design and structure of the case chassis and internal components, the process will be more or less complicated. The first step will be clean the main external fans of the box, both the front and the rear; Normally, the front fans have more dust than the rear ones, so we must be especially careful with them. As a detail, the inner blades of the fans usually have more dust.
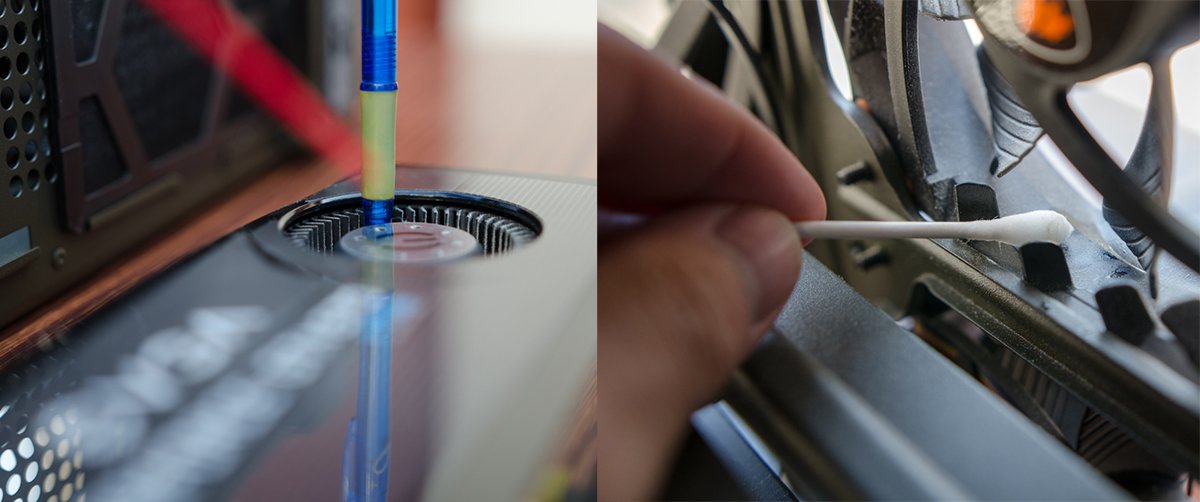
If our PC allows us to unplug the fans, we can have easier access to them to start the process. So we just have to pass the brush over the blades of the fans with a vacuum cleaner nearby to absorb the dust, thus preventing it from depositing inside the PC. We will do the same with the rear fans.

processor heatsink
Normally, and in more powerful PCs, the computer's processor will be accompanied by its own heatsink and fan. The first thing we must do is unscrew the fan to have better access to the heatsink, an element that receives large amounts of dust due to its internal position, in full air flow. Once we have both components within our reach, we can now clean both the internal fan blades and the heatsink blades, combining brushes of different thicknesses to access the most complicated areas. We recommend not disassembling both components if you do not see excessive dirt, since they are usually stuck to the processor with thermal paste.
Graphics card or GPU
The graphics card or CPU is the easiest internal element to remove, although again, only the most powerful computers will have one or two, depending on the model; The simplest PCs do not require a graphics card. To remove it we only have to remove the Power cables (if you need them) and release the anchors to the motherboard and back of the PC. Once released, we can clean its components much more easily. As with the rest of the fans, we must pass a brush over the blades; Of course, we must be more careful, since graphics card fans tend to be more delicate than PC fans.

Cleaning the rest of the components
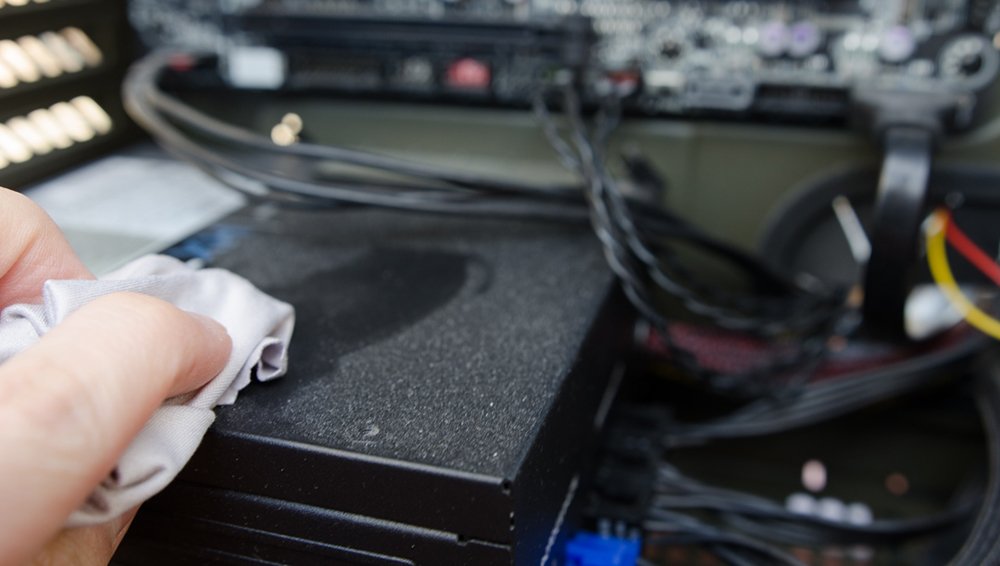
Once we have cleaned the main components of the PC, we can now move on to the final phase of the process, taking care of the rest of the elements, such as RAM, storage units, bays or the motherboard itself, all of them with accumulated dust from suspension, combining brushes of different sizes and cloths. The case of the power supply is different, although it will not be necessary to disassemble it completely; If we pass a brush over the blades it will be enough.

