With the arrival of instagram and his first filters for retouch our photos, many users began to upload their own images with the possibility of retouching the color, luminosity or contrast, in order to achieve specific effects such as old or more striking photos. Over the years, the app has added more features such as videos, the stories or the direct chats, among others, although one of the most popular tools continues to be the application of filters and effects to our photos, with more and more possibilities. Therefore, below we teach you everything you need to know about how to create your own filters instagram through Spark AR, a Facebook app that offers great creative freedom.
How to create your own Instagram filters
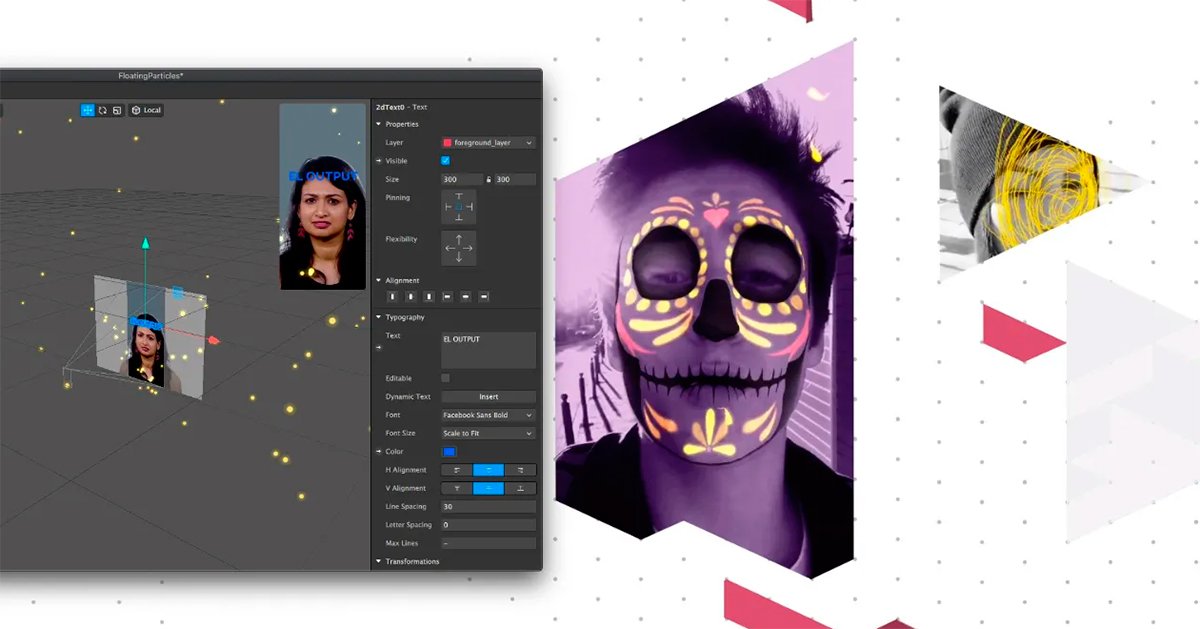
Spark AR Studio is one of the most popular and advanced tools for creating effects and filters for Instagram, available completely free of charge for Windows PC and Mac; In addition, there is a mobile version with the application known as Spark AR Player for iPhone and Android, with which you can see how your new filters look before integrating them into Instagram.
But it is also that Spark AR Studio offers endless possibilities for the most advanced users, with tools for creating filters and effects really advanced; although the common user also has the opportunity to create their own basic filters in a simple and direct way. Be that as it may, to use Spark AR Studio, you will need to have an account. Facebook where they will be stored, so that they can later be transferred to Instagram.

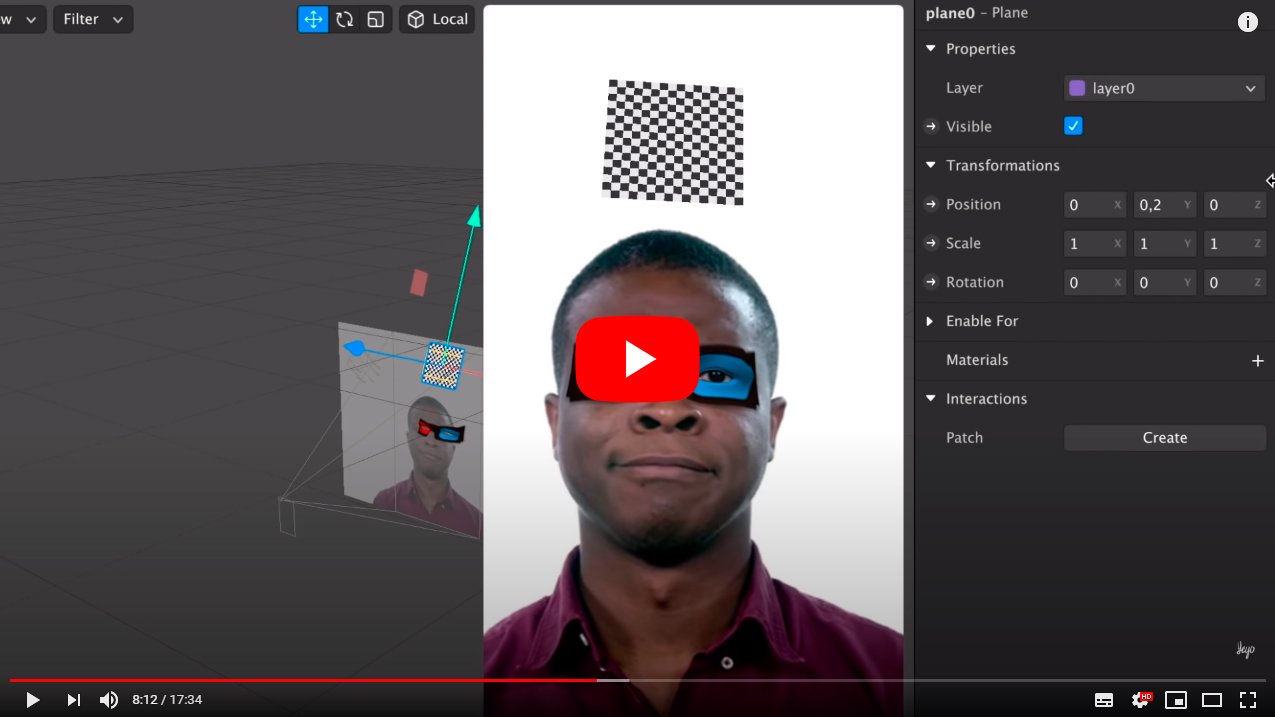
Using Spark AR Studio at the user level is quite simple; Follow the steps below to start creating your own Instagram filters.
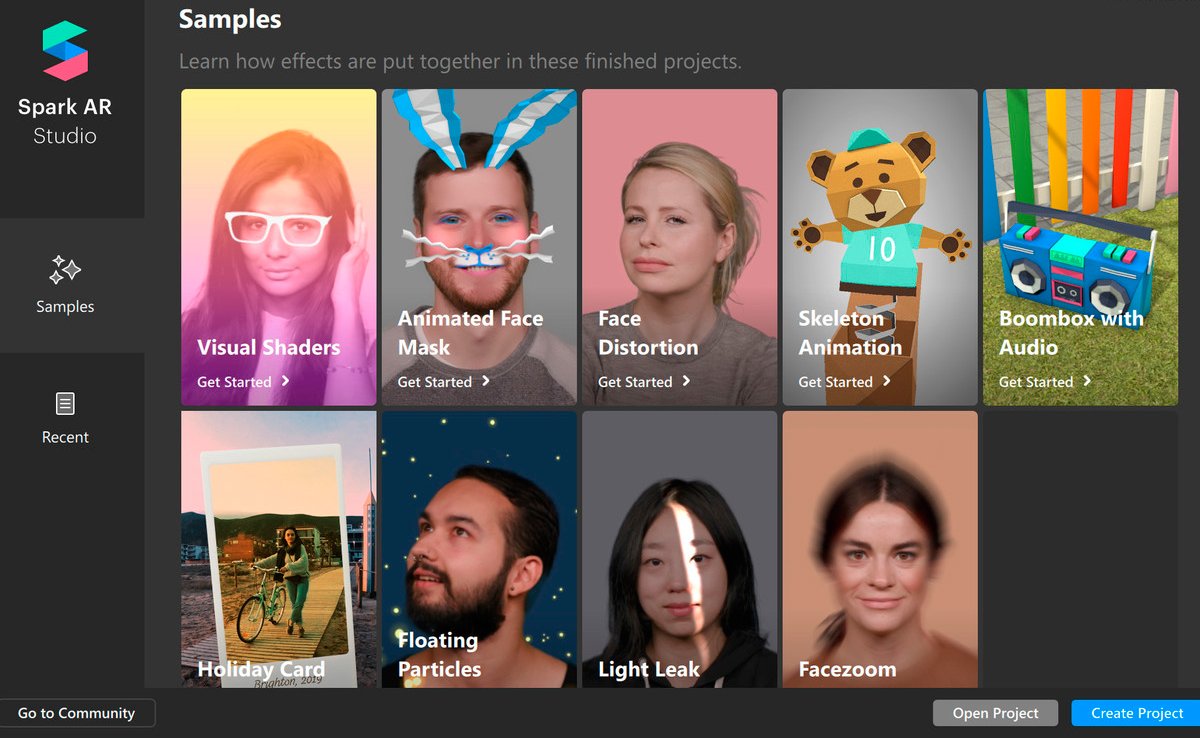
When you access Spark SR Studio click on Create New to create a new filter or effect project. The different effects available are grouped by filter types such as:
- face decoration
- Objects
- Make-up
- Background
- head accessories
- Color filter
- Masks
- And many more…
Additionally, Spark AR Studio offers filter models adapted to the device you have, such as iPhone, iPad, LG, Samsung, etc. When you finish your new Instagram filter or effect, you can save it on your PC or export it directly to your Spark AR Hub to use on both Instagram and Facebook; by doing so you will be able choose a name and icon to differentiate it from other effects in your collection.

Lastly, Spark AR Studio also allows share your creations and use those of others users. To do this, you just have to access Instagram from your iPhone or Android mobile and click on the top left corner icon of the screen to create a new story and see the available AR filters and effects. At the end of the list you can access the button Explore to access the catalog of filters and effects that other users have shared; use the one you want, edit it and save it to your collection to increase the number of filters available.
How to use the best Instagram Stories filters
In addition to the Spark AR Studio app, it is also possible get filters and effects of the Instagram application itself through the stories of other users. To do this you just have to explore Stories from other users and check if they have used any type of filter, the name of which will appear below their username.
If you click on the filter used by another user, a menu will be displayed that will allow you install said filter to increase your collection of Instagram filters. Although before saving it you can always try it through the option Prove, in order to see in real time if said filter convinces you or not. If it convinces you, click on the option Save effect to add it to your collection.

