Next we will explain how to configure your PS5 from scratch to start playing as quickly as possible; So, if you already have the console new generation of sony, we offer you all the necessary steps to start enjoying your new video game in a quick and direct way. And the configuration processes of the new consoles They can be somewhat cumbersome; That is why we offer you a complete guide with all the details What you should know to get your new PS5 ready and start enjoying the new generation of PlayStation now. Don't miss everything about how to configure your PlayStation 5.
How to set up PlayStation 5
Index of contents
- First steps
- How to configure PS5 HDR
- How to enable inverted controls
- How to increase the size of texts
- How to mute the microphone of the DualSense controller
First steps
The first step, after removing all the plastics and the PS5 box, is connect the console to the television or monitor in which you are going to play with the different cables that come with it. First plug the console into the mains with the power cable and then connect the HDMI cable, one end into the HDMI output of the console and the other to the HDMI input of the television or monitor.
With both cables connected, turn on the console by pressing the front power button. Now you will have to connect the DualSense controller with the USB cable which also comes in the box, one end on the back of the controller itself and the other in the USB port on the front of the console. When the DualSense controller is connected, press the PS button on the controller to turn it on and for the console to detect it; once PS5 recognizes the command You can now disconnect the cable and continue using it wirelessly, although we recommend leaving it connected until it charges its entire battery.

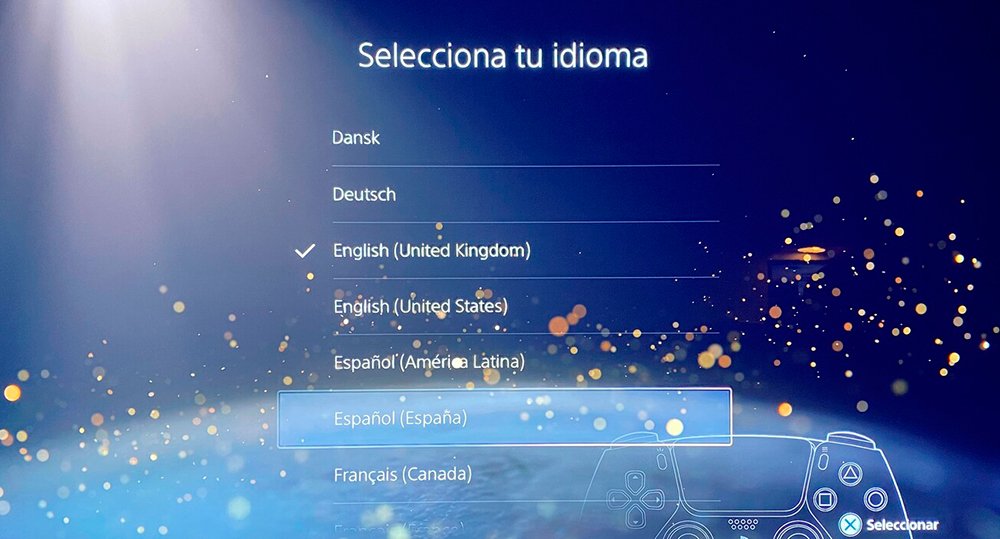
PS5 will access the language display automatically; Choose the language you prefer, although if you are in Spain you will most likely want to configure the console in Spanish - Spain). Still, you will have many languages to choose from, such as various types of english or the Latin American Spanish, among many others.
Once you have chosen the language you will access the screen Set up internet connection. Thus, if you have not connected the console with cable through the port ethernet, you will have to connect it to the internet through the WiFi network of your home. Choose the wireless network and enter the password; In any case, you can also configure the internet connection later, although it is advisable to do it now so as not to miss other next configuration steps.
You will now access the screen Adjust display area to adjust the screen margins to view the contents correctly, to match the margins of the games with those of the television or monitor; Make the necessary adjustments with the directional pad of the DualSense controller, although by default they are usually already well configured.
The next step will be adjust HDR brightness on televisions or monitors compatible with said technology; Make the settings following the instructions shown on the screen in three steps. When you finish click on Following.
If you have one PS5 with disk reader You can enter a game to start its installation if you wish while you continue with the configuration, although it is an optional step. If you don't want to install any game now just click on Continue.

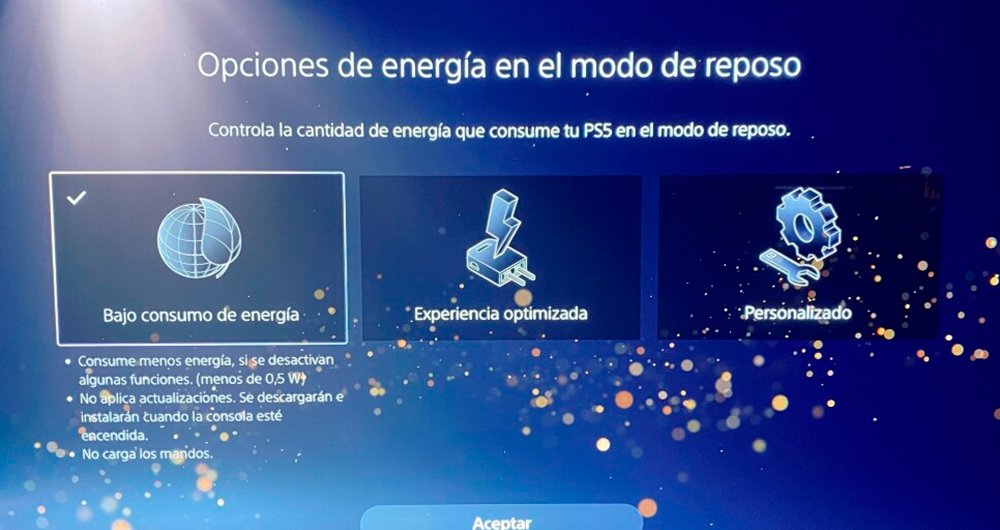
The next screen will be Power options in sleep mode, to set the power consumption in sleep mode. We can choose between two main options, one of low consumption to deactivate some functions in standby mode or another optimized experience so that the console maintains more active functions in rest mode in exchange for consuming more, functions such as updating games, charging the controllers if they are connected or turning it on remotely. There is also a third option available called Personalized so that each user can configure the options they consider.
The next step is simply to accept the software license agreement of the PS5 operating system; To do this, check the box I agree and click on Confirm. It is a required step to complete the console setup.
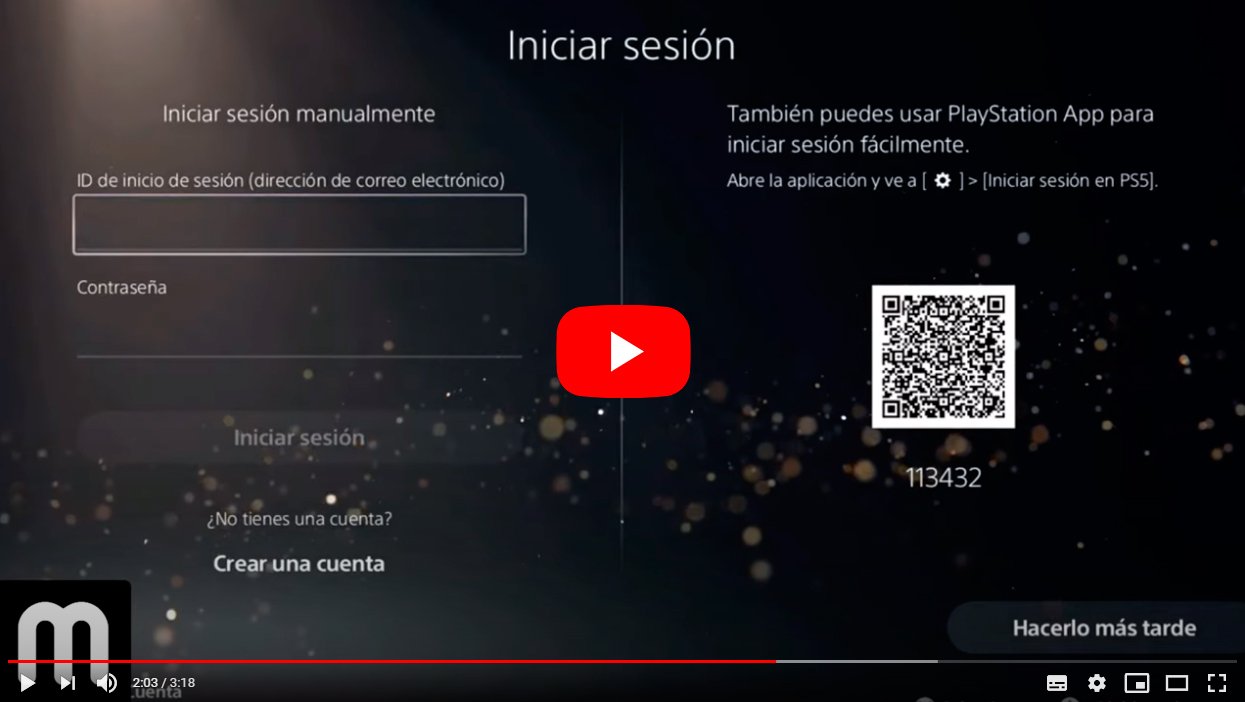
You will now access the screen login to your PSN account; If you have already had another PlayStation console in the past you can use the Same account in order to keep all your digital games and purchases made. If you do not have a PSN account you can create one through Create an account.
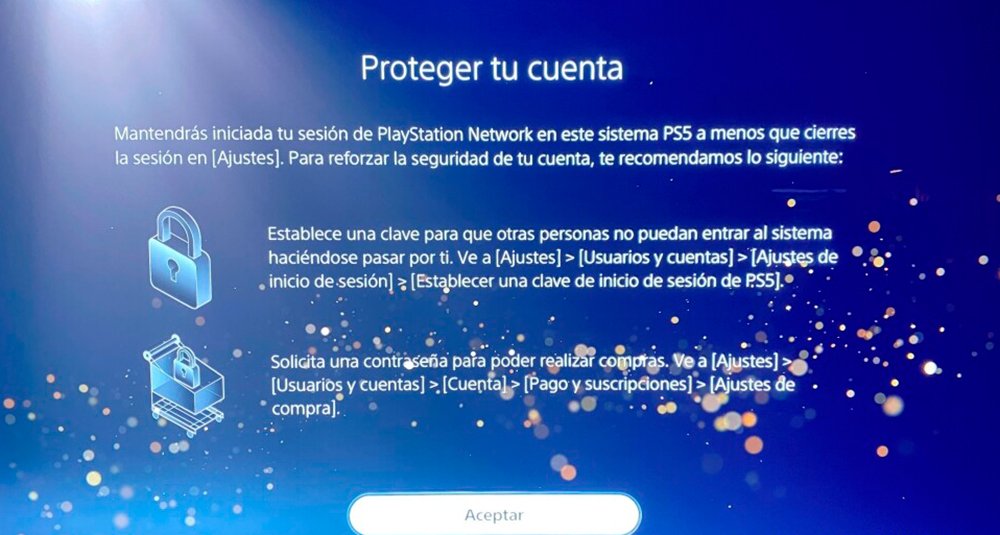
After logging in you will be taken to a screen called Protect your account with several instructions on how protect your account, for example, through a password.
We arrive at the last step, which is Transfer data from your PS4. And if you have a PS4 you can transfer all your data and settings to your new PS5 automatically. To do this, both consoles must be connected to one same WiFi network and have the same PSN account; click on Continue to start the process. You can also click on Do it later if you want to do it another time.
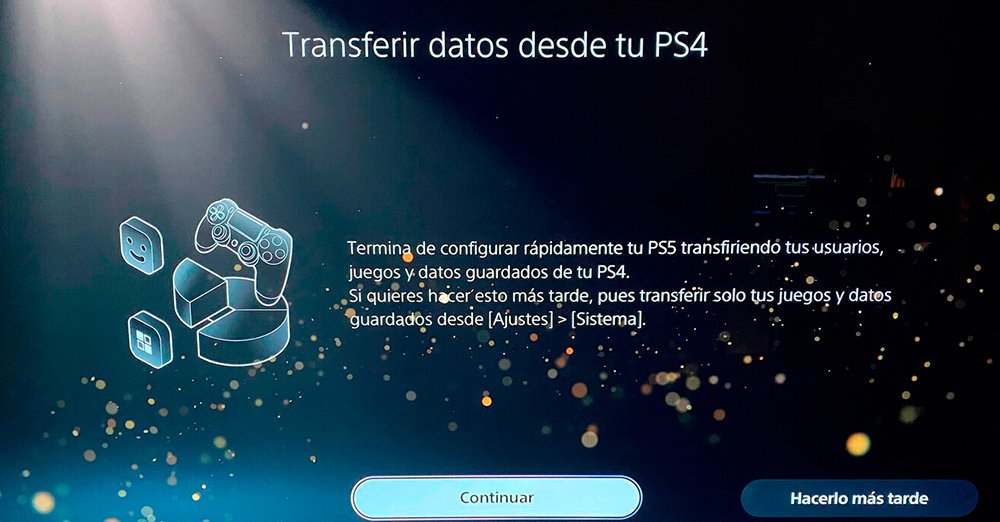
After completing all these steps You will already have your new PlayStation 5 console configured to start playing. However, if you want to further customize the console, its menus and options, you just have to go to Settings and take the actions you consider.
How to configure PS5 HDR
He HDR, or High Dynamic Range, is a visual feature that offers greater vividness and contrast of images, providing greater visual quality of PS5 video games. Of course, your television or monitor must be compatiblee with said visual characteristic.
To configure PS5 HDR (the result may vary depending on the TV model), you first have to go to Settings from the PS5 menu, an option located at the top of the screen next to the user avatar. Within Settings go to Screen and video – HDR. Now activate this option to set the automatic parameters.
If you want to configure HDR beyond what PS5 offers by default, you will have to click on HDR settings. Three options will appear to configure the lights and darks on each screen; Pressing the control pad up makes the image lighter and pressing it down makes it darker.. Take into account the following parameters:
- On the first HDR configuration screen (white), press up until the symbol is no longer visible on the screen; When it is not visible, press down seven times. The symbol will barely be visible but will not have disappeared.
- On the second screen (practically all dark) press up as far as it will go; then press down 15 or 16 times until the symbol is barely visible.
- Finally, on the third screen (black) press down five times until the symbol is barely visible.

Check the result and make the adjustments you see fit until you find the ideal balance for your HDR-compatible television or monitor; remember that upon noticing the change in visibility of the symbol will be the appropriate adjustment in each case.
How to enable inverted controls
Fans of FPS games (Call of Duty) or TPS (Fortnite) usually enable the inverted controls for greater naturalness of control, in order to execute the movement of the DualSense controller joystick in reverse. Follow the steps below:
- Go to Settings – Games and Apps Settings – Game settings.
- Choose the type of control, either first person or third person.
- Select the option Reverse these controls on both controls; This option will apply to all games.
How to increase the size of texts
If you think that the texts displayed on the screen are too small (depending on the size of the TV or monitor and the viewing distance), you can always increase text font size. Follow the steps below:
- Go to Settings – Accessibility – Screen.
- Choose Text size and modify its size to your liking; There are different levels, so you can select your ideal size.
How to mute the microphone of the DualSense controller
The PS5 DualSense controller incorporates its own microphone to talk to other players in online game modes. Although if you prefer turn off the microphone of the controller, you can do it through its settings. Follow the steps below:
- Go to Settings – Sound – Microphone.
- Disable automatic microphone power on when you are online.

