Youtube is one of the fashion platforms. And with the rise of the so-called YouTubers or content creators audiovisuals, the portal now in the hands of Google It has become a mass phenomenon that attracts millions of users around the world every day. Therefore, you may want create your own YouTube channel and start uploading your videos, in order to become a successful YouTuber or simply share your videos with other people without further pretensions. Don't know where to start? Don't worry, it's very simple, just follow our step by step guide and in a few minutes you will have your own channel ready to start uploading and sharing your own videos with the whole world.
How to create a YouTube channel and upload videos
The first thing we must do to create a YouTube channel is to create a Google account. So, if you already have an email from Gmail, you now have your own account ready. If, on the other hand, you still do not have your Google account, follow the following steps to create one:
- Access the Gmail website.
- Click on More options – Create account.
- Enter your personal data such as your First and Last Name, Username, Password, Date of Birth, Gender, Mobile Phone or Location.
- Press Next.
- Accept the conditions of use.
- Verify your new account via SMS or Voice Call.
- Enter the code received.
- You already have your Google account!
Create your YouTube channel
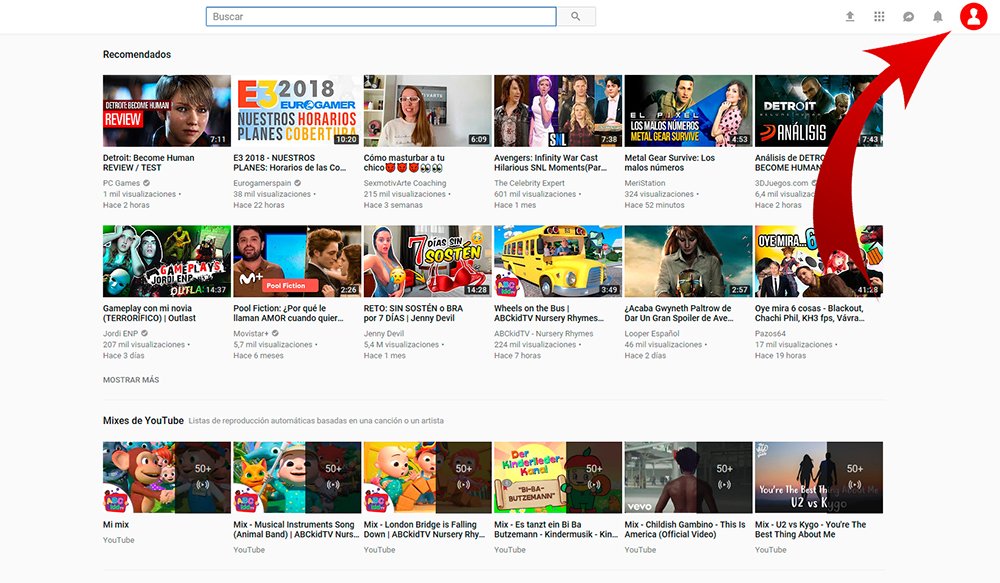
As it could not be otherwise, our first step is to go to the YouTube official page. If we have our Google account active, it will appear in the upper right corner with our profile image; If it does not appear we just have to access with our username and password from this same drop-down menu.

Now we must go to My channel to access the creation options; the configuration window will appear Use YouTube as… through which we can create our channel.

Now we must write our first and last name to name our YouTube account; By default the system enters our Google data, but we can change them to our liking. Now we can click on the icon Create Channel. On the other hand, if we want to use an anonymous or artistic name, we must press the option Use a company name or other name through the option located at the bottom of the window.

We can now enter the name we want to give to our channel, which in this case does not have to be our real name and surname, and click Create. Through this menu we will create a YouTube channel associated with a page Google+ and one company account.

With the channel already created, now we must customize the basics to give an image to our own channel through Customize channel. Thus, we can add a profile image, a header image and a description general about the theme of the channel.

Editing these elements is very simple; We just have to move the mouse pointer over each section to make a small pencil-shaped editing icon. To edit each section we just have to click on said icon and follow the steps to upload an image or write the description.

How to upload a video to YouTube
With the channel already created and operational, now comes the time to start uploading our videos and share them with everyone. To do this, we just have to click on the arrow icon up located at the top of the YouTube interface, right next to our profile image of our account in the upper right corner.

A new screen will appear where we are told that we can simply drag and drop video files or search for the location of the video files in the folder on our hard drive through the corresponding menus.

Next, the video will start uploading automatically through a process bar which will show us the progress as a percentage. While the video is being processed, we can complete the different information labels, such as the title, description or the tags themselves that we want to relate to the video to gain visibility, always separated by commas to make things easier for the YouTube algorithm. When the upload process has finished, we can click on the blue icon Post, located right at the end of the rise bar. Thus, we will have published our first video on YouTube.
